Home * Patterns * Tutorials * Made It * Our Story

Thursday, January 13, 2011

Made It: Phone Pillow Tutorial

This week has turned into a super crazy, busy week. :) I guess it's just life right?! Hopefully one day I'll get used to it. ;) lol.


Anyway, I made up a tutorial for the Phone Pillows I made for Christmas Presents this last year (here and here). I went ahead and made it a pdf, so now lets see if I can figure out how to upload it! ;)...

Update 1/17/14: I recently updated the pattern. The phone pillow is now smaller and more compact - much nicer. And the pattern now includes instructions and a template for a tablet size pillow.


You can now download this pattern from Craftsy here!
or from Etsy.


I'd love to see how yours turn out when your done!!! :) You can add pictures to the flickr group here: http://www.flickr.com/groups/fromblankpages/

Tuesday, January 11, 2011

Fab Finds: Phone Pillows, tutorial to come


A few of the comments I've received for the phone pillows I made for Christmas presents made me laugh, and I figured I should be sharing how I made them. :) It was really pretty simple, but I can't get to a tutorial today, so it will wait for another day (super soon. Promise). 

I do however want to make sure that credits is paid where credit is due. I found these wonderful items in an Etsy shop: Dog Named Banjo. 

Her's are beautiful, and way better looking than mine, as well as treated, so higher quality than what I made. I just want to make sure everyone knows where I found the idea from so that if you don't want to make your own, you'll know where to buy them! :) 

I think this one is my favorite fabric from her shop.


And yes, she does make them for kindles and iPads too! :) Great idea!!


*** To be completely honest, I'm a little torn about sharing a tutorial. Of course I figured out how I made mine on my own. But I also hate to 'give away' someone else's product secrets. Of course, I'm sure once enough people see them they'll be all over the web anyway - because that's how everything goes with all of us 'make it ourselves' crafters. ;)  My hubby says not to worry about it, so I guess I'll just have to ask that if I post how I made them, that you only use it for personal use only, and continue to give credit to Dog Named Banjo shop. :) Is that fair?! I don't know. I guess it works right?! :)

Monday, January 10, 2011

Made It: Christmas Presents, Part 2

First off, stay tuned this week for a  Giveaway!! Yippy! :)
And the Children's Church Bag Tutorial, Part 2 will be posted next Monday (Jan.  17th)
***************


I kind of wanted to get this posted by the end of the year, but I guess starting the year off with Christmas is alright too. ;)

Here is the rest of what we made this year for gifts. :) I'm glad there weren't too many big projects! lol. I didn't promote my etsy shop at all either, so with no orders to worry about, this year was a LOT more relaxed than last year. :)


Here's a picture of the phone pillow I made for my Sister (and a better picture for her hubby)
 

I also made another phone pillow for my Dad. (He got a new iPhone for Christmas. lucky.) ;)


More tissue holders... using this tutorial at Sew, Mama, Sew!
for my Mom (I forgot to take a pic of hers, but I used this fabric)

 MIL, Stepmom,


and for my niece and nephew. :)

I don't know how much they loved them, haha, but I love mine, and especially with this never ending cold I've been having, I would not survive without it.


A beanie for my FIL


I also made some cute reusable snack bags for my Hubby. I used the tutorial over at i have to say...


Happy New Year everyone!! (Lol. A week ago.)


I'm linking up! Check out all the great sites on my side bar. They're organized by day, so it's easy to  know when to visit so you don't miss anything!

Links:
i have to say... http://ihavetosay.typepad.com/randi/
Tissue Tutorial:  http://sewmamasew.com/blog2/?p=14193

Thursday, January 6, 2011

db By Design: The Shop is Up and Running, Improvements and Announcements

Yes, I am happy to say that I am back into crafting mode. :) It has been a nice break these last couple of months, and much needed as well. But I am happy to be back at it again.

I have relisted a few items, as well as some custom items in my etsy shop. Made some awesome improvements to a few items, have a couple of patterns on the way (one sooner than another, but they're coming), and finished up a couple items that have been waiting by the side lines.

Here's a peak at what's new:
Erasable Activity Book
I have about 7 more of these sitting on my desk waiting to be finished. Here is the first one, and it is finished and listed! :)


I am really excited about the new pocket on this one! Instead of having individual pockets for the crayons or markers (Which it is impossible to make them the right size for both at the same time), I made one giant pocket on the back page! I love it! It is velcro closure, so nothing will fall out. And now you can carry any other trinket along with you (or more than two crayons or markers). :)
You can find this here.


Bags
I've noticed that I've gotten a few searches for a British flag handbag on my site, and decided to whip up another one of these cute bags! :) 100% receycled t-shirt, and everything on it is made from the one shirt. I love the pocket inside that is made from part of the collar. :) 
You can find this here.

Camera Bag
 
I relisted my custom order camera case. But now it is even better. Improvement number one from my first case is the key ring in the second picture. Just thread your camera strap through there and you don't have to worry about dropping the case in the snow or loosing it when you want to take a picture!
Improvement number two and three (pictures to come): VELCRO. :) Instead of the button closure it is now secured with velcro. (We actually lost our button a while ago, and since velcro is a lot longer lasting and stronger, it was the only way to go.) After talking to my dad about his boring black case that he likes for his camera ;), I also decided to add a velcro loop to the back (optional) so that you can attach the case to your belt of bag strap, or where ever. And since it is also velcro, it's easy to attach to things that don't come undone (such as your belt that you would have to take off and thread through the loop).
Improvement number four: a small pocket in the front that will fit an extra SD card. It will blend in pretty well, so it shouldn't effect the overall design and appearance. It will also have a little velcro to keep it closed and the contents secure.

I will have pictures coming soon of all these great things. :)
You can find the custom order here.

I am also currently working on a pattern for the simple camera case (Though it won't include the instructions for the back loops or the pocket). But it will still be nice! We love our simple camera case! :)


I also added a custom listing for this beautiful Children's Afghan/Lap blanket. :) I can't believe it's been so long since I first took these pictures! My boy is getting so big!

You can find the listing here.


I just feel so crafty, and when I saw this picture, I knew I couldn't wait any longer....


Yup. That's right! Number 3 is on the way! We're trying really hard to stop calling Jacks "Baby" since soon we really will have a baby again, but it's kind of hard. ;)
And thus the reason for being so sick, and so absent in the past few months. 
We're super excited! :) We find out in less than a week what it is, and then it should be here by June 1st! Crazy how the time flies! :)

Happy Crafting!


Tuesday, January 4, 2011

Made It: Children's Church Bag, Part 1

***UPDATE: I've done some clean up on this pattern as well as made it into a PDF pattern, the Mini Tote Bag. You can find the pattern in my Craftsy Shop HERE. The pictures are the same as here on my blog, so if you want a bigger reference for them, hang around as you make your bags! :)


For, well, ever, until now, we've always brought a huge diaper bag full of books, toys, snacks, etc, with us to church to pacify our children while they needed to sit quietly. Well, that doesn't always turn into quiet time. A couple of Sunday's ago, a friend of mine told me about what one of the families do in our ward. They only let their children bring their scriptures and perhaps some paper or church books. That's it. Then she tells them BEFORE church that when they are reverent and obedient they receive blessings, which for them equals a treat or some reward when they get home. If they are noisy or misbehave during church they don't get that "blessing". I like this because it's not bribing! :) lol.

Anyway, Hunter has NEVER let me sit through church, not even when he was an infant, but in the last couple of months he has gotten a lot better, and I think he is ready for this. Jackson will do fine I'm sure since he's pretty mellow anyway.
And so I have started my next project: Church Bags!


Here I will give you my tutorial of how I've made my bags, and then in the second part, I'll show you the collection of things that I have made/found to put inside them. :) I think (hope) these will be a hit, and that they will like carrying their own bags. I also figure that they can be the ones to put the items inside them so they will already know that we don't have any snacks for them, and thus cutting down on disappointment and being loud when we tell them in church that we don't have any for them. :)

What you'll need:

2 coordinating fabrics (1 for the inside and 1 for the outside. you'll need about 1/2 yard of each fabric)
scissors
sewing machine
thread
straight pins
ruler or cutting mat and straight edge
and anything else you might need to sew with or cut fabric with


Cut fabric into the following pieces:

1 of each fabric:
     12" by 25 1/2" (for the main bag)

2 of each fabric:
     2" by 17"  (for the straps. This will make shorter straps for children, but long enough that I can still fit it on my shoulder in case I ever carry it.)

1 each of inside fabric only:
    6" by 13 1/2" - for larger inside pocket
    4 1/2" by 10 1/2" - for smaller inside pocket


Begin by: (backstitch every time you start and stop sewing)


A. POCKETS

click on photos to enlarge
  1. Take the pocket pieces and fold them in half, right sides together, hamburger style (do you remember that term from elementary school?!) :)
  2. Sew around the three edges with 1/4" seam allowance (SA) - not on the folded edge (A.2.a). Leave a 2" opening for turning on the side opposite the fold (A.2.b).
  3. Trim the corners
  4. Turn right side out and push out corners using chopsticks, bone folder or something pointed. Fold the opening under 1/4" and press/iron the entire pocket
  5. Along the folded edge sew a straight line about 1/4" from the edge
  6. Do the same thing to the next pocket piece

    B. INSTALLING POCKETS


    1. Lay the inside piece of fabric flat on your working surface, right side facing up. 
    2. Take your smaller pocket and with a ruler line up your pocket  2 1/2" from one short edge, and 4" from both sides. This will center your pocket on the one side. Pin in place at the four corners and along the long sides. (2a. I actually like to use my clear ruler in this step. I lay it on the top and adjust the pocket underneath it until it is centered and straight. I think it is a lot easier to line up this way.)
    3. Take your larger pocket, and on the opposite end of your fabric, line it up so it is 2 1/2" from the short edge and 3 1/4" from each edge. Pin in place as you did the first pocket.
    4. Sew each pocket in place by sewing 1/8" from the edges along the long side, bottom (sewing the opening shut) and the other long side, leaving the top open. I like to backstitch a lot at the top where I start and stop to give it a little extra strength, since little hands will be digging in them, I figure they could use it. :)

      C. STRAPS


      1.  Take one strap piece of each fabric and lay right sides together. 
      2. Sew along each long side with 1/2" SA, DO NOT sew the short ends closed
      3. Take a safety pin and pin one end of the strap, going through only one piece of fabric
      4. Push the safety pin inside the strap and work it down through to the other end, pulling the fabric in with it. This is a little tricky at first, but once you get started it should only take you 30 seconds to turn the whole strap! I love this method!
      5. Press your strap flat. (mine were a little lumpy. You can remidy this by either only sewing 1/4" SA (your straps will be wider), or cut your straps 1/2" thinner and sew with a 1/4" SA, or use something flat to run through your strap after turning to smooth it out. Or just leave it a little lumpy. It really isn't noticeable.)
      6. Sew along each side of the strap, about 1/8" from the edge. This will give it a crisp, neat look. (I forgot this step on the green bag, oops. ;) This step isn't dire, but it will definitely keep it staying flat.)
      7. Do the same thing with the other strap.

        D. MAKING THE BODY OF THE BAG
           
        1. Take the  outside piece and fold it in half, right sides together, hamburger style
        2. Sew along each long side with a 1/2" SA
        3. Crease the fold as well as you can with your finger
        4. Taking one bottom corner, we're going to square up the corner. (I don't know how to explain this really.) Try and get the seam line lined up with the very center of the bag bottom (where you creased it) - it should look like the picture, with the seam going straight down the center of the triangle.
        5. Line it up on your cutting mat, or using a ruler, pin it where the triangle is 1 1/2" across. Try and get it as straight as possible. (I like to lay it on my cutting mat, line the seam line up so it is straight with a line on the mat. Then measure where it is 3/4" on each side of the seam and mark with pins, or other marking tool.
        6. Sew across this line
        7. Cut the corner off, about 1/4" from your new seam
        8. Repeat this with the other corner.
        9. Repeat this entire process with the inside of the bag.

          E. PIECING BAG TOGETHER

          1. Turn the outside fabric right side out and lay flat.
          2. At the opening, measure 2" from each side seam and mark with pins.
          3. Taking one strap, lay the ends on top of the outside bag body on the inside of the pins you just used for marking.
          4. Pin in place (only through the one side of the bag).
          5. Do the same thing with the other strap on the other side of the bag.
          6. The ends of the straps should line up even with the edge of the bag.
          7. Make sure that the fabrics that are facing each other (on the straps and the bag body) are the same, otherwise when you make the bag, you will have opposite fabrics on the straps than the body. Make sense? It will.)
          8. Carefully stuff the outside fabric bag and straps into the inside fabric bag, matching up the bottom corners
          9. Match up the side seams, folding the SA in opposite directions and pin in place.
          10. Repin the straps to both layers of the bag. Make sure that the straps are fully inside/between the two layers.
          11. Pin the two bags together in the middle of the straps.
          12. Starting at the back of the bag (I used the side with the larger pocket), sew a 1/2" SA around the entire top of the bag, leaving a 2 1/2" opening where you started (E.12.a). Make sure to backstitch at the beginning and end!! I also backstitch when I sew over the straps to make them a little more sturdy.
          13. Pull the inner bag out of the outer bag (makes it easier to turn if they are not together) and Turn right side out through the opening.
          14. Push the inside of the bag into the outside of the bag, wrong sides should be facing each other.
          15. Press the top where your fabrics are sewn together. Turn opening in 1/2" and press.
          16. Now sew around the entire top edge of your bag with a 1/8" SA, making sure not to sew your straps down (make sure they lay out like in the photo).
            YOU'RE FINISHED!! :)

            the green bag has wider straps. 
            I sewed them with 1/4" SA, whereas the blue/red bag is sewn with 1/2" SA.


            *a few tricks: I despise ironing, so I actually just finger pressed everything in this project. Though I do iron the fabric before I cut it so that the pieces are all straight and the right sizes.
            This pattern is very general. You can use it with any variations to make any size or style of bag you may like. Add embellishments or pockets to the outside before sewing the bag body. You can sew multiple fabrics together  for a multi pattern/fabric bag. Etc. The possibilities are endless!
            Here is are two examples of bags that I made practically the exact same way as this one, just bigger and with a few more details:

             
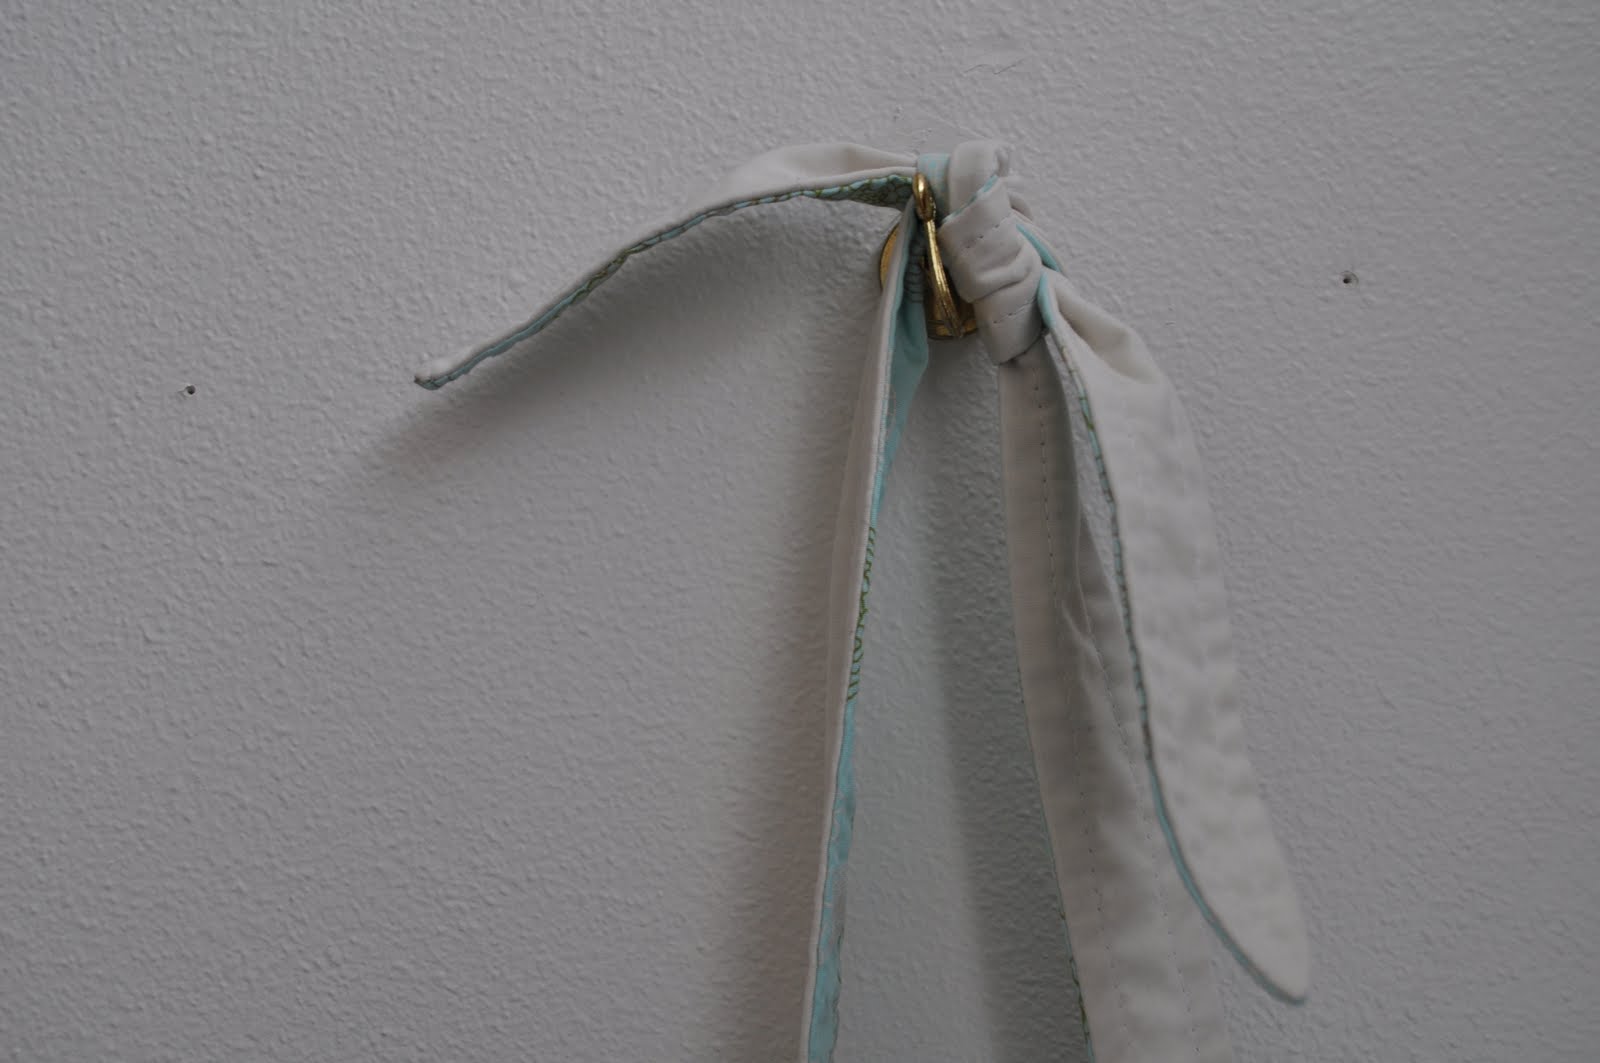
            This second bag only has the "one" strap sewn in at the side seams. I actually used two straps, only sewing in one end of each, with pointed ends and then tied them in a knot at the ends so you can adjust the length.


            Now all you have to do is fill with whatever fun stuff you want, or wait until Part 2 for some ideas, and you are set! :)

            If you have any questions, or something doesn't make sense, 
            Leave a comment and I WILL get back to you. :)

            Monday, January 3, 2011

            Oops. Sorry...

            I updated my tutorial page, but never actually checked it to see how it worked. It seems like I used to be able to link pictures in blogger, but it doesn't ever seem to work anymore. Anyway, I wanted to let you know that I updated the captions so they actually DO link to the individual posts.


            Otherwise, I've been working for hours on putting a tutorial together for this...


            I think it's taking me longer to get all the pictures together, than it did to make the actual bags.
             I hope it's worth it! ;)