Home * Patterns * Tutorials * Made It * Our Story
Showing posts with label Cricut. Show all posts

Wednesday, November 9, 2011

For Sale: Cricut Expression and Cartridges

Yup, I am selling all of my cricut stuff!!! Need to get a gift for a crafter for Christmas! You can buy my cricut! ;) lol.

I have everything listed on KSL.com if you are in Utah, or if you just want to see what I have.

Cartridges: http://www.ksl.com/index.php?nid=218&ad=17119466&cat=74
Cricut Expression: http://www.ksl.com/index.php?nid=218&ad=18016593&cat=74

I found this picture here. But this is exactly what I have.


or I also have the cartridges on Amazon (http://www.amazon.com/shops/ADEBEMFIQK8LG). and will be adding the Expression today.


Please let me know if you are interested! :)
or just buy them of course! hehe.


Diane

Saturday, September 24, 2011

Vinyl-licious

My cricut has been a busy bug. lol.

Ok, quick bug, as in I'm bugged. (ok, I really don't mean to use bug so much when referring to the cricut, but I just am!) I don't know if any of you out there have/use one, but it's useful. Well, I also LOVE Make the Cut! (MTC) It's the best software out there, but last summer cricut/Provo Craft suede MTC and told them, and any other 3rd party software, that they can no longer make their software compatible with the cricut. So that is really buggy for me because until I get a different cutter, I can not update my software (which has improved leaps and bounds since then) or my cricut (which I don't really care about, because I'm sure they haven't improved much of anything). :)  Anyway... I still like having it and using it, and luckily it stills works. So here I am showing you what I've done:


My sister is one of those Super Moms who does everything! Literally. She's the PTA sec, is the Team Mom for her sons football team, Primary President for her ward, I'm sure is involved with her daughters soccer team - but I can't think of anything specific. Anyway, and the list goes on. So, she enlisted me for the beginning gift of the football team, which turned out super cute!

She had me make all the boys names, along with their jersey numbers, and some symbols to represent their team, etc. to put on some water coolers. I love cutting out vinyl. Taking off all the extra stuff after it's been cut and it just looks so clean and sharp. I don't know, I like it.

Anyway, she sent me a picture of it all finished. Don't they look great?!

S__CE73

She also made some for all the of the cheerleaders (yes. It is an 8 year old football team that has cheerleaders. lol. Gotta love Texas sports!)

S__9CEF

So that's that.

We also had our Young Women's Standards night the end of last month. It was kind of crazy, but for our gift for the girls, I made up a little vinyl saying for them that they could stick on their wall, or mirror, or whatever. It is quoted from the back of the For Strength of Youth pamphlet as a reminder of the choices you are making, "Am I living the way the Lord wants me to live?" I made one as an example and put it in a frame to hang on my wall. :)

DSC_0386

Fun times! Fun vinyl!
Sometimes I wished I knew when/if we were ever going to move so I could put some stuff up on our walls if we really are going to be here forever. :) One day... I'm remaining hopeful. :)


Diane

Friday, January 28, 2011

Made It: Learning Numbers

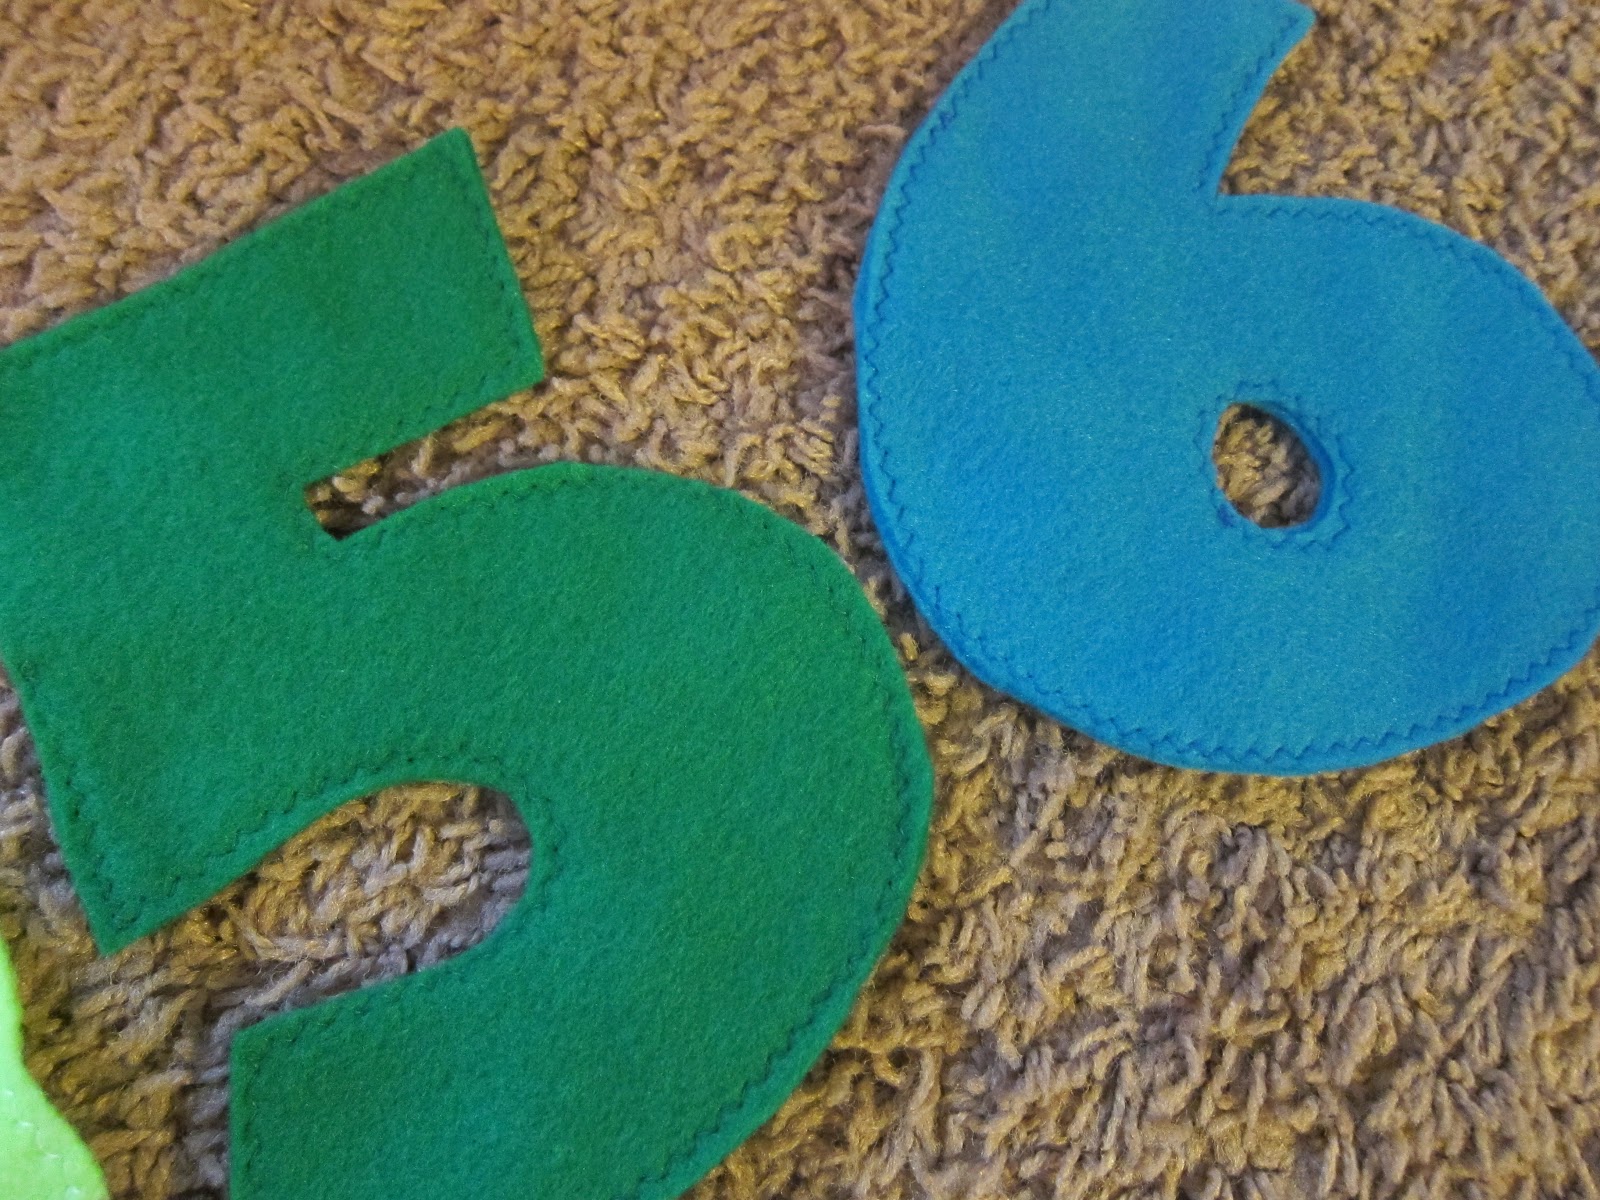
Sometimes I really want to be able to sit down and learn with Hunter. But then I think of all the supplies I need. :) He's been doing really well saying all his numbers lately, but doesn't quite have them in order, or recognize which is what (except 2. He knows that one.) Remember, he's only 2 1/2. I hope he's not behind. ;) Anyway, I finally decided to hurry and do a quick nap time craft and make him some extra large felt numbers so that we could have some good visuals (and not waste a ton of paper all the time). :)

haha. Did you notice that my 9 is backwards in this picture. I did realize it afterwards. :)

He seems to love them!


Here's how I made them (they did take longer than one nap time, but I did finish them in one day):


First I cut out paper numbers using my Cricut Expression and Mickey Font cartridge (This is one of my most favorite fonts!!)


Then I traced around them twice with a chalk pencil onto different colors of felt.

  • Make sure that you flip the number over once so that you can put the two drawn on sides together and not have any chalk showing. 
  • I also did the number in order starting from red going to purple, so that when we laid them in order they would make a rainbow. This is a good way to learn colors too, which we've already practiced with these. :) I love double learning!!

Then cut out the numbers (2 of each)


And easy-peasy quick and easy, line them up (I used pins to keep them lined up as I sewed) and sew them together using coordinating thread. For the lighter colors I simply used white thread to save time and you can't even tell. 


I debated stuffing them a little, but decided to leave them. I think I like them better flat.

(the flash reflecting off of them makes them look really weird in this photo. oh well.) 

Hunter does a really good job at stacking them nicely when we're ready to put them away. Now all I need is a bag to put them in. Or I thought of making a board or something to put on his wall so they can be hung up all the time.  We'll see what I get to. :)

We like these so much that I've already started on an alphabet, I just need to sew them now.

To hang them on the wall I thought of making a simple wall blanket but adding lines of velcro to keep them stuck on there. I haven't made it, but I think if we ever have an extra play room, I'll make one for there. :)


***************
If you would like to use the file I used to cut out the letters on my Cricut, you can find them here (http://dbbydesign.webs.com/svgfiles.htm). You will need to own Design Studio by Provocraft as well as the Mickey Mouse Font cartridge to be able to cut it out. I have the file for the numbers as well as the alphabet.

This site, dbbydesign.webs.com, will be where I upload any files (for patterns or cricut files) that I share. :) So check it out. :)


I'm linking up! So be sure to check out all the daily Linky Parties on my sidebar! -------->

Tuesday, November 16, 2010

Fab Finds: Cricut, Cutting Vinyl and Fabric, and new Print and Cut Tutorials

Here are the instructions for cutting with vinyl.
I always forget the blade depth and pressure settings, so here they are. :)

Cutting Vinyl using Cricut & Cricut Expression Die Cutting SystemVinyl Instructions using Transfer Tape

1) Place vinyl sheet on Cricut cutting mat. Load mat into machine and confirmthat machine is set to the correct cutting mat size.2) Make cutting selection and set size as if you where cutting paper,and then press cut.Peel images off cutting mat.PREPARATION1) Place vinyl sheet on Cricut cutting mat. Load mat into machine and confirmthat machine is set to the correct cutting mat size.2) Make cutting selection and set size. For best results, set blade depth to 6 and pressure to 2.These settings will result in a "KISS CUT" or a cut that only goes throughthe vinyl leaving the backing liner uncut.3) Take ends of transfer tape in each hand with adhesive side facing down.Gently lay transfer tape over vinyl (be sure to lay it straight)image starting in the center and moving out toward the ends.4) Once tape is in place,use applicator stick to burnish*the tape on to the vinyl.Start in the center and use overlapping strokes.

APPLICATION
1)Completely clean and dry wall (or other surface) area where vinyl image is to be placed.For best results do not use a cleaner that will leave a residue.2) Lightly place image on wall using level to ensure correct placement.3) Once image is in place, use applicator stick to burnish* vinyl on to wall.For best results use overlapping strokes when burnishing*4) Gently peel back transfer tape at 45-degree angle.If vinyl starts to come off with transfer tape,lay area back down and burnish* again.

Cricut Vinyl Instructions Without Transfer Tape

PREPARATION
1) Place vinyl sheet on Cricut cutting mat. Load mat into machine and confirmthat machine is set to the correct cutting mat size.2) Make cutting selection and set size. For best results, set blade depth to 6 and preasure to 2.These settings will result in a "KISS CUT" or a cut that only goes through the vinyl leaving the backing liner uncut.

APPLICATION
1) Completely clean and dry wall (or other surface) area where vinyl image is to be placed.For best results do not use a cleaner that will leave a residue.2) Use level and pencil to draw a faint line on wall to aid in placement.3) Carefully remove the vinyl images one at a time form the backing liner and applyto the wall using the pencil line as a guide. Gently smooth down the vinyl using your fingers.4) Once all image are placed on the wall, place backing liner overthe vinyl and gently burnish* with application stick provided.5) When complete,carefully wash off or erase pencil lines.


Cutting Fabric:
I have a great video I found  that I put on my db's Crafty Corner blog along with some other links. Here's the link:   http://dbcrafty.blogspot.com/2009/05/great-tutorial-on-cutting-fabric-wthe.html

I have some other cricut info (free font links, svg files) over there too. You can find them all here:
http://dbcrafty.blogspot.com/search/label/Cricut


And, since I'm posting Cricut stuff, I just found some great info and tips on how to cut out images that you've printed on your printer, or cut shapes for your stamps! SO AWESOME! I'm so excited! :)
(No need to spend beau coup bucks on the new Cricut Imagine!)
Print and Cut


Ok, here's a video for the easiest way (I love Make The Cut!):


Here's a link that has the video instructions written out.

And here's some more links:
and here's a link with a list of other options that I haven't checked out all the way yet.

and here's another site (this link is specifically to how to use center point to cut stuff) but I bet the site has a lot of other great resources too! :) 
http://www.mypinkstamper.com/2009/01/cricut-series-7-episode-78.html

One More Note:
If you go to this link:

you can see a lot of the awesome new features of Make the Cut! 3.0, it's a beta version still, so if you buy MTC you will get the older version, but you can upgrade to this. I am seriously so excited! (and the best thing is upgrades are FREE, unlike SCAL. But that's ok. It's just one more thing that makes MTC so great.) :)

So honestly, if you own a cricut, or a gazelle, or black cat cougar, you really need to check out these videos! :) It's pretty awesome! :)

Thursday, September 16, 2010

Made It: Boo Magnets & Freebies

For the last two days my SIL has been coming over and I've been helping her cut out some stuff on the cricut. It's been a lot of fun, and what we were doing got me really excited to try some other things with the Make The Cut program. I am loving it!!!

Since the project for the week over at CSI is fall, I decided to make some BOO magnets! :)
(Of course I always think the linky is open all day Thursday, and it never is. And with early morning doctors oppointments, I totally missed posting these over there. Oh well. Hopefully next week I'll remember to make something on Wednesday! But go check out all the cute stuff anyway!) :)

These magnets are pretty big, just over 4.5" by 4.5". But it's been fun! I don't use my cricut nearly enough!!

BOO
"B is for BAT" and "O is for OWL"

I cut them out, ran them through my xyron creative station, turning them into permanent stickers. Cut out the background and glued it all onto magnet sheets and cut out the magnet just around the paper. Then I am going to cover them with modpodge to help keep them all together! :) I love how they turned out!

I do have to do a shout out to all you scapbookers though! It's tough figuring out how to layer the paper so they look good, and are readable! I need to add some extra outlines with my pen to make some of them more readable. I guess I'm still learning! ;) (I am DEFINITELY not a scapbooker.)

When I first thought of these, I couldn't decide how to display them! I thought of cutting them out of fabric and making them appliques on a little quilt or wall hanging, or modpodge fabric and these onto a canvas board. I also thought about framing them, or even making some fabric blocks and putting them on one side of each block. (That's actually what I tried first, but I was having difficulties). That way my boys could play with them, and I would have to figure out where to hang them on our lack of wall space. You could also put them on wooden blocks, and that would be cute too. The possibilities are endless! The magnets are fun though, and Hike already played with them a little bit.

And guess what! While cutting the paper I had extra squares and decided to make an extra set!

Do you want it???
*** A new home has already been found for this lovely set ***
Make sure you are a follower of this blog, and leave a comment with your email (or you can email me at dbByDesign@gmail.com if you don't want to leave your email) so I can contact you, and I will randomly pick a winner first thing Wednesday! :)

Happy Halloween! and Happy Fall!!! :)

Do you want to make your own? I used fonts from Lettering Delights. You can get there by clicking on the button on my sidebar.
Font is LD Typeset, The bat and owl are DB Boo Ya. So cute! And right now they are only $1! :)
You can check out Make the Cut from my button too. It's a fantastic program if you have a cricut! Easy to use and you don't ever have to buy another cartridge!